Configure and Connect to CAM VPN (Windows)
First, download the Windows Pulse Secure Client from either the Windows Store or from the following link and install the software: Pulse Secure Download
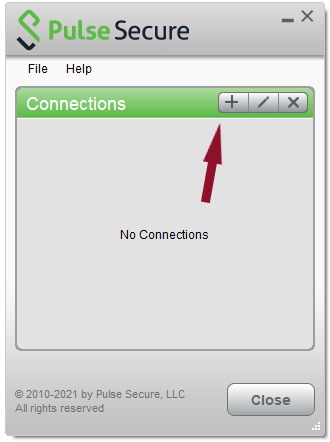
1. Once the Pulse Secure Client has been installed, open the program. Next to “Connections”, click the + button to add a new connection.
2. In the Add Connection window, enter the following information and then select “Add”:
- Name: CAM VPN
- Server URL: vpn.cam.uchc.edu
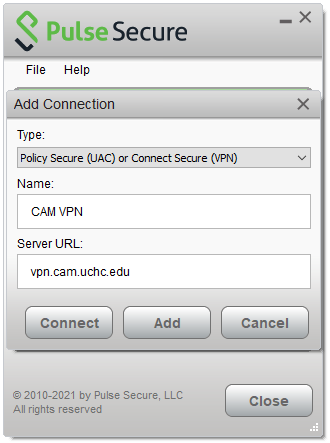
3. Once the new connection has been added, if it does not try to connect automatically you can now select the “Connect” button.
4. You will be prompted to enter your CAM credentials. You will enter your CAM username and password. Select the checkbox next to Save settings, then select “Connect”.

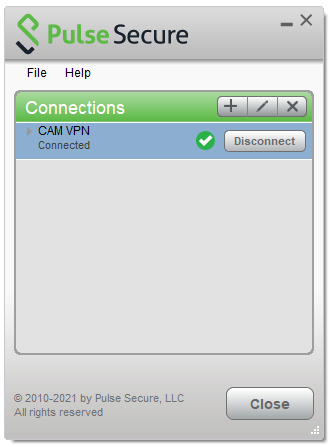
5. Once successfully connected, your Pulse Secure window should look like the image below.
 Configure and Connect to CAM VPN (Mac OS)
First, download the Mac Pulse Secure Client from the following link and install the software: Pulse Secure Download
1. Once the Pulse Secure Client has been installed, open the application. At the bottom left corner of the window, select the + button to add a new connection.

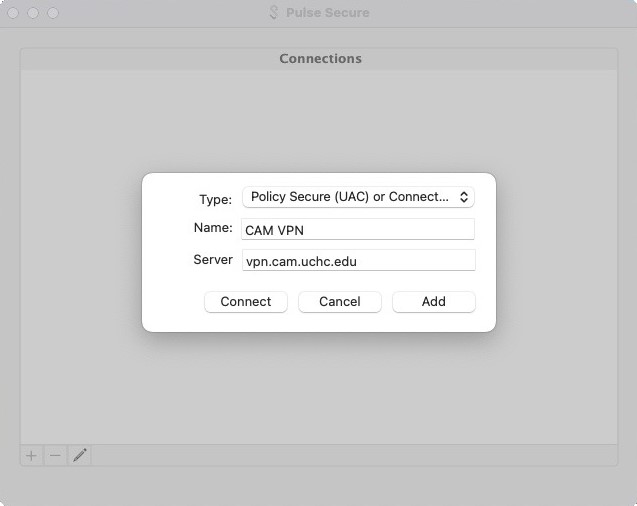
2. Leave the drop-down Type as default “Policy Secure (UAC)”. Enter the following information and then select “Add”.
- Name: CAM VPN
- Server: vpn.cam.uchc.edu
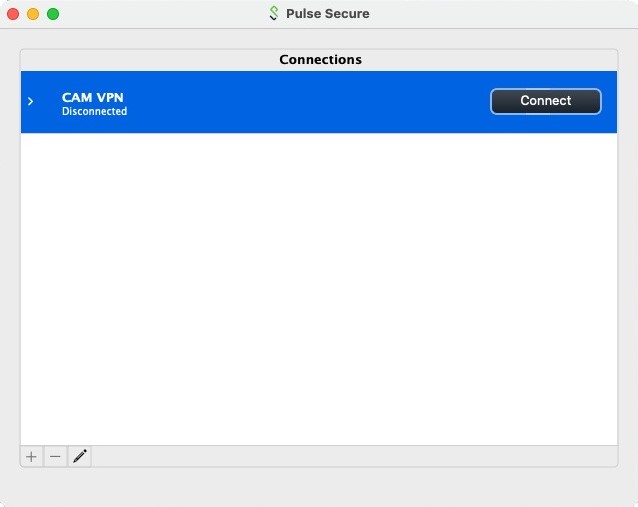
3. Once the connection has been added, select the button “Connect”.
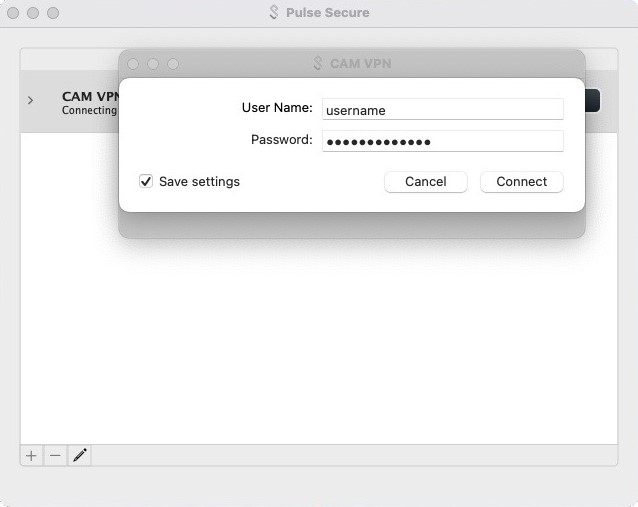
4. You will be prompted to enter your CAM credentials. You will enter your CAM username and password. Select the checkbox next to Save settings, the select “Connect”.
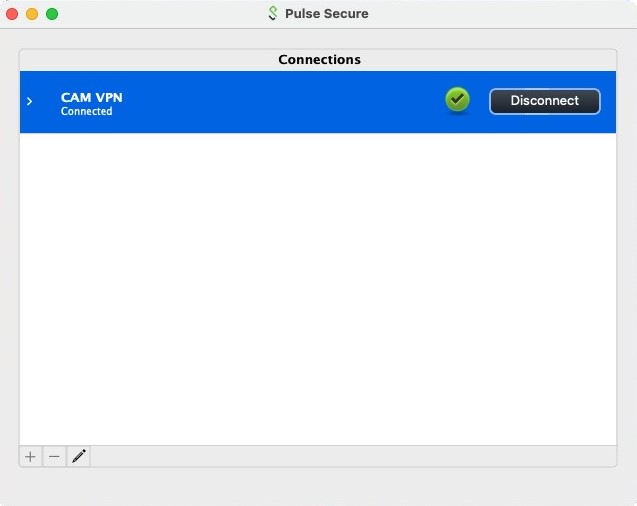
5. Once successfully connected, your Pulse Secure window should look like the image below.